Showing posts with label Rust Removal. Show all posts

Saturday, October 25, 2014

Tall De-rust Bucket


 I have some long thin Items which need derusting, tools, etc. but won't fit in a standard 5 gallon mud bucket I used before.  I hunted all over for a tall waste basket or something like it.  I didn't want something as big as a 55 gallon drum, just to much water to deal with.  My neighbor had a piece of 8" Schedule 40 PVC pipe which I cut to 36".  Free is not always cheap.  The cap cost me $45 even after the guy at the plumbing supply had pity on me and took off $10.  Still I think it is perfect for what I'm doing and will last for ever.

 For sacrificial iron (anode) I decided to use re-bar since it's cheap and easy to get.  I bent it to an "L" shape to work better on the bottom end of the part.  The process supposedly works better on Line of Sight between the part and the Anode.

My brother-in-law has a re-bar bender/cutter but a stout vise and large hammer will do.

In the long end of the bars I drilled a hole to bolt the bars in place and provide electrical connection.  I also ground the area around the holes flat to get better contact.  If needed I'll use star washers to improve the contact.


 I wanted the 6 bars evenly spaced around the inside of the bucket.  A quick measurement and the holes need to be 4 15/16" apart.  I placed them 1 1/4" down so the ends of the bars would not stick up past the top.  I'll cover the top to keep the rain out while cleaning the parts.

 A support stand made drilling the bolt holes easy enough.

 The rod are bolted in place with washers to space them from the flared end so they hang parallel to the wall of the tube.

The current is low but the wire end with a 1/4" hole are for 10/12 gauge wire so I used a scrap of 10 gauge wire to connect them together and make a pigtail for attaching the battery charger.  I used the red insulated wire to remind me the positive lead connects to the anodes,

 For a stand I used a mud bucket filled with concrete.  I positioned the tube in the middle of the bucket and poured in dry concrete mix, settling in down with gentile taps of the mallet on the sides of the bucket.  I left it down about 2" and poured in about a quart of water.  Concrete doesn't need much water to make the chemical reaction work.  The water is now trapped in the bucket so it will slowly cause all the concrete to react and harden.

After it set a day I mixed a little of the concrete with water to cap the the top of the bucket.  I want it to shed water when I have it outdoors for use.
I think we're ready for some water, soda and parts cleaning.

Tuesday, September 25, 2012

Electrolytic Rust Removal Works

 Once I've done this for a while I'll try write up what I've learned in a set of procedures, etc.  For now there are plenty of other web articles you can read.  The 3 things I'd stress about this from those articles are:
Do this outside, it makes explosive Hydrogen Gas, don't blow up your house.
You're plugged into 110 Volts AC, be careful it can kill.
Don't use Stainless Steel for anodes. Keep the bath safe.

For small parts I've started with a 5 gallon mud bucket.  For anodes (these get slowly consumed in the process) I used some of the 20 gauge mild steel I bought for the control horns on the WACO NINE.  I had cut up the remaining 4'x8' sheet into blanks 18" x 8" so I just split some of them 4" wide. That allowed me to bend a leg on the end to form an anode covering the bottom of the bucket as well as the sides.  Don't use a steel bucket because it will slowly dissolve in the process, not good.
 To hold the "L" shaped pieces in place I punched 5 holes in the bucket and a hole in each anode so they can be bolted to the bucket to hold them in place.  The bolts also provide a way to wire them together.  The bolts are not in the water but they are in a wet environment so I used galvanized bolts (1/4") with a star washer under the head for better electrical contact.  I put a stack of washers and a nut behind the anode to space it out from the bucket.  The nut is to assure the star washer gets compressed.  On the outside of the bucket there is a washer then the wire terminal, star washer, second terminal, and then a nut to hold the connections tight.  I used wing nuts because I had them.
For a place to connect the positive lead, from the charger, I made a pig  tail which connects to both ends of the wiring. The lead didn't clip to it as good as I wanted so I'll figure out a better pig tail.
With the bucket made I then calibrated it to hold 4 gallons of water then added 1 Tablespoon of washing soda per gallon.  I don't think the water could hold that much.  I suspect half of that would have done the job.  I need to do some experimenting with a jug of water to see at what concentration the pH stops changing.  I'm also curious how much temperature affects the process.  With winter coming I may be in trouble doing this out of doors.
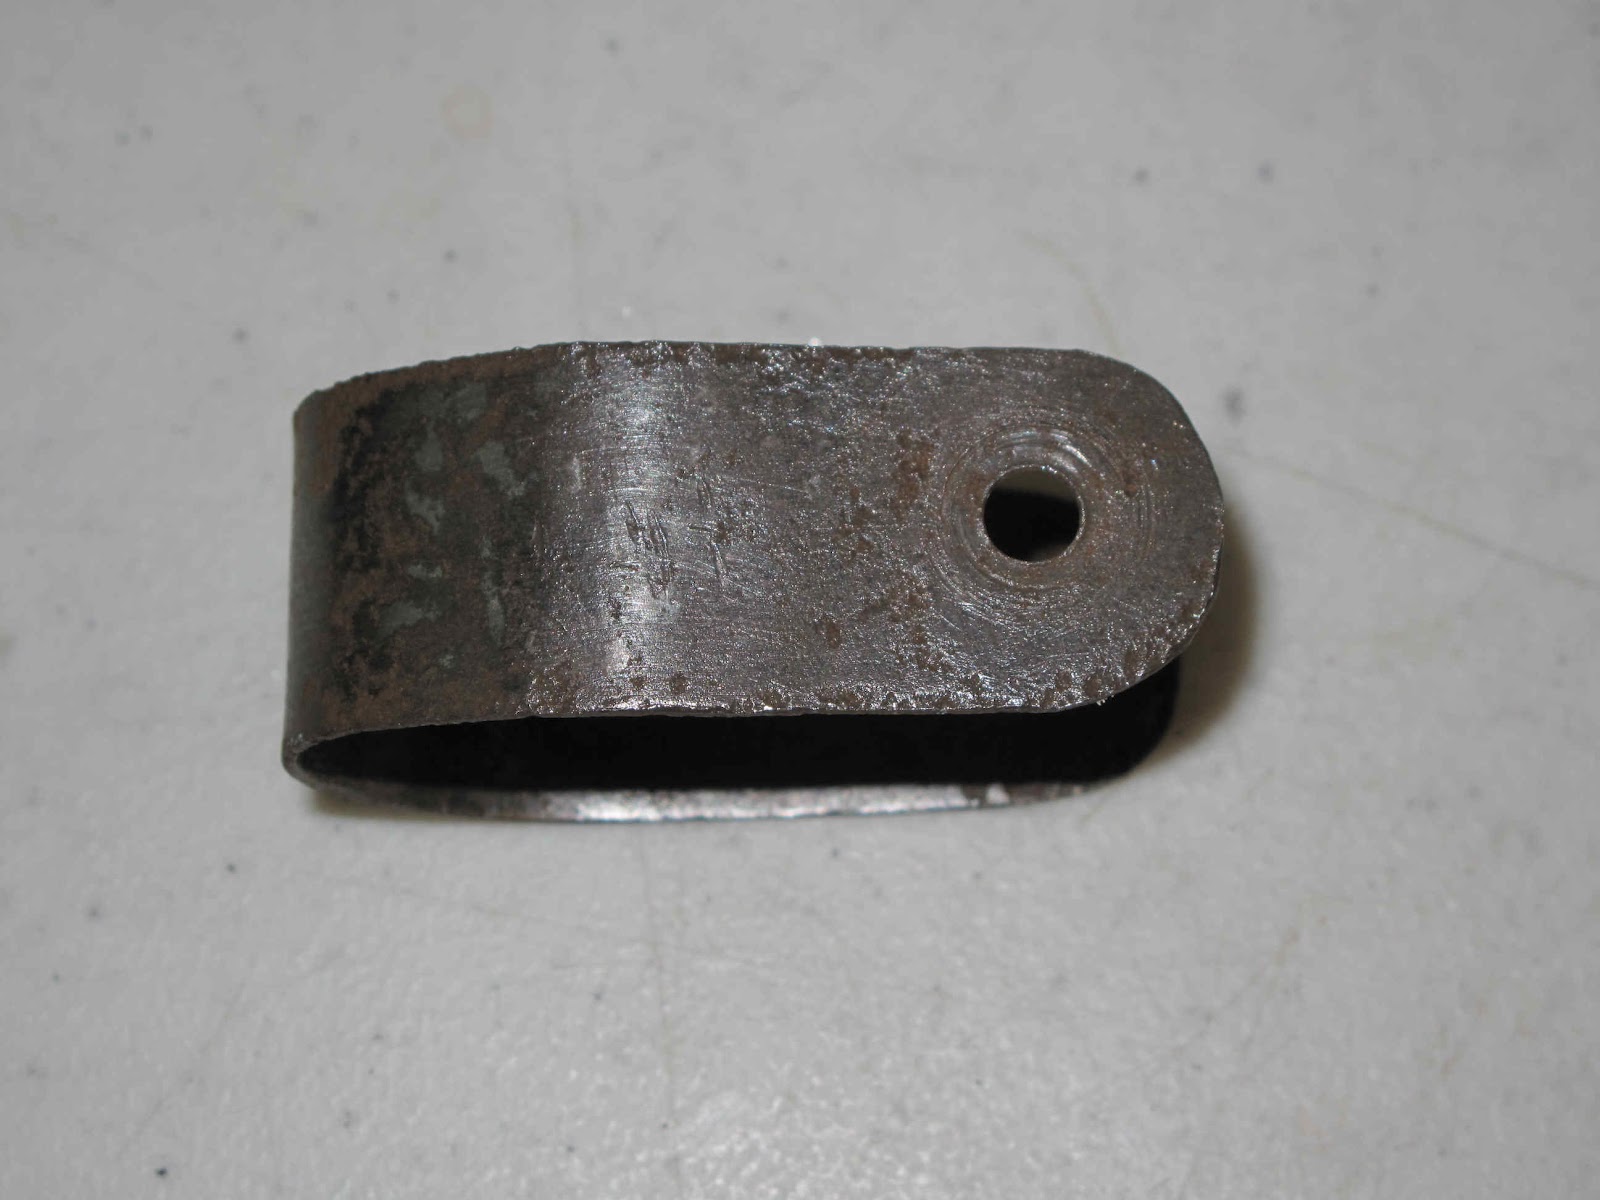
Here's my first rusty part (rudder hinge strap from the WACO NINE).  The wire loop made a convenient way to hang the part but I should have used stranded wire.  Solid wire is stiffer than the spring in the clip.
We have bubbles! It's working!  Very Cool.
On thing I like about using this part is that the surface area is easy to calculate.  It's a strip of .050" steel  1" wide, 6" long, with 2 holes 1/4" diameter with a total surface of 12.2 sq. in.  With a current flow at 6 volts of .58 amps that's .0477 amps per sq. in.


After 24 hours there is still some rust in the pitted areas, especially on the inner side.  A quick hand scrubbing with a fine wire brush cleaned off the Black Oxide, but this part needs more rust removed.


I re-positioned the part so it's tipped at an angle to give all surfaces a better line of site to the anodes.  I also increased the voltage to 12 volts. The bubbles are going strong.


After another 24 hours and a light scrubbing with the wire brush under running water the part has no more visible red rust.  This part is to pitted to use but it cleaned up nice.

Time to get some engine parts in this bucket.

Thursday, September 20, 2012

Removing Rust Electrolysis

Looking at these parts the one thing which is obvious is that I have a lot of rusty parts.  Yesterday our mailman Dale stopped by and we got talking about the engine.  Dale suggested looking into electrolysis for removing the rust.  I understand the science but had never tried it.  This has to be a great way to deal with all these parts.

Just Google:     rust removal electrolysis

This looks too simple for words  I've always wanted a battery charger so this has to be the best excuse for buying one.  Once I get everything ready I'll let you know how this works.

For now here are a couple links: