
I started welding by tacking all the corners (16 tacks). I started with the outer corners of each tube. I did 2 corners at one end then moved to the opposite end and did 2 corners. Then did 2 corners on the outer end of an inner tube followed by the outer end of the other inner tube. Then I used the same pattern for the inner corners of each tube. With all the corners tacked I then welded the top and bottom edges of the tubes to the flanges in the same pattern.


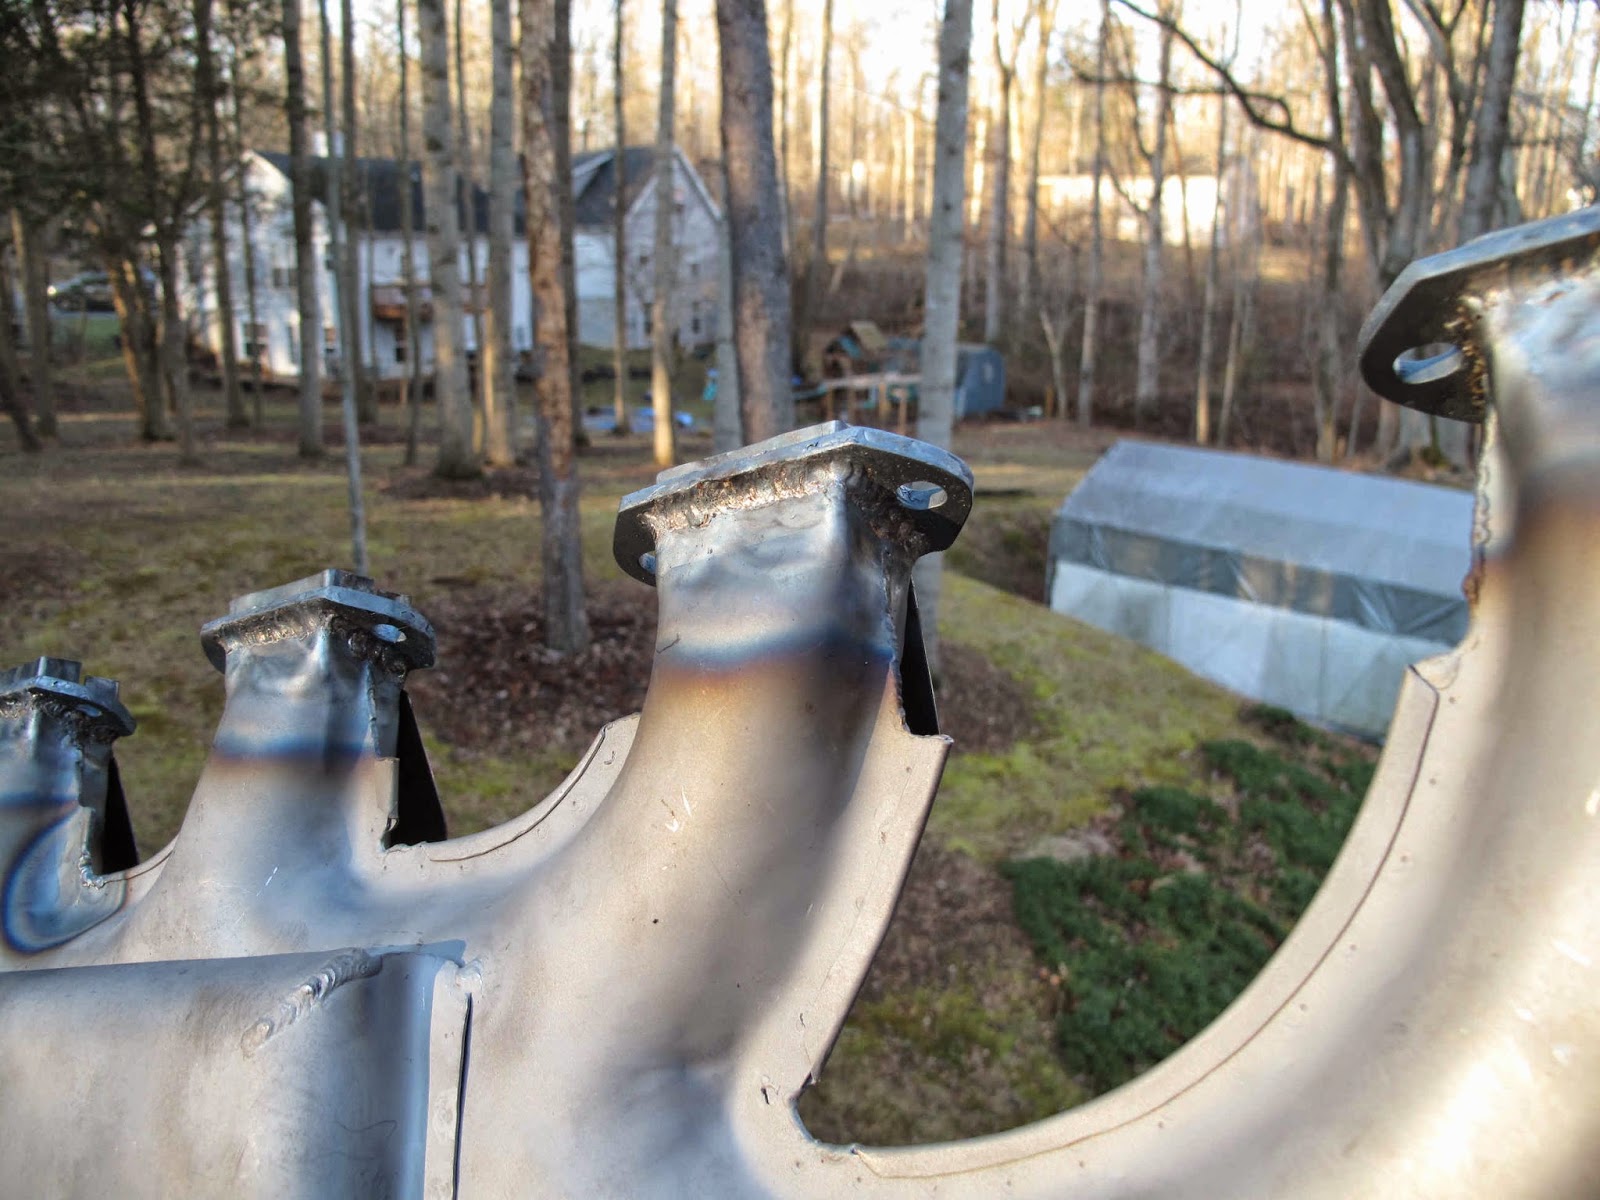
The thing I hadn't thought enough about was the heat shields which are welded to the top to protect the valve springs. On the next shell I'll try spot welding them on and possibly welding the edge completely before installing the flanges to weld. I either had the edge too close to the flange and it was hard to get the puddle to form all the way to the bottom or the gap was too big and it was like welding two parts which just happened to be near each other.
The process I used for them was to clamp the shield to the shell, tack the corners, remove the clamp, and make the weld to the shell and the flange.


The top side was easier to weld because the heat box as not in the way but it had the added problem of the shields.
Once the top and bottom were welded the fixture was removed so there would be room to weld the sides without the nuts in the way. This worked fine and the flanges are all still aligned and flat.


No comments:
Post a Comment